How to Reduce Manual Data Entry in the Lab
Map every re-keying point in the sample lifecycle, rank them by error risk and volume, connect intake and downstream systems to your LIMS through APIs or middleware, validate each integration before retiring the manual step, then measure the drop in errors. The six steps below show exactly how to do it.
What manual data entry in a laboratory looks like - and why it persists
Manual data entry in a laboratory is any point in the sample lifecycle where a person re-keys data that already exists in another system. Each of those moments is both a transcription error risk and an audit trail gap. Labs running multiple disconnected systems - intake, LIMS, instruments, ERP - typically accumulate six or more such points without anyone deliberately designing them in.
A re-keying point is the unit of analysis: the specific moment a person copies a sample ID, test result, or client reference from one place and types it somewhere else. Spotting one is easy. Counting all of them is where most labs stall.
Re-keying persists because most labs built their software stack one piece at a time. A LIMS for sample tracking, an ERP for invoicing, a separate spreadsheet for instrument outputs. None of these systems were designed to talk to each other. The gaps between them become manual steps almost by default.
Audit trail risk: Every manual transfer is a point where ALCOA+ traceability can break. Re-keying is not just slow - it creates a compliance exposure for any lab operating under ISO 17025 or equivalent frameworks.
The why behind re-keying at the point of sample receipt is a topic we cover separately. Here, the focus is the full six-step method for finding and removing every re-keying point, wherever it lives in the workflow.
Step 1 - Follow one sample from request to report to find every re-keying point
A re-keying point is any moment in the sample workflow where a person manually copies data from one system into another.
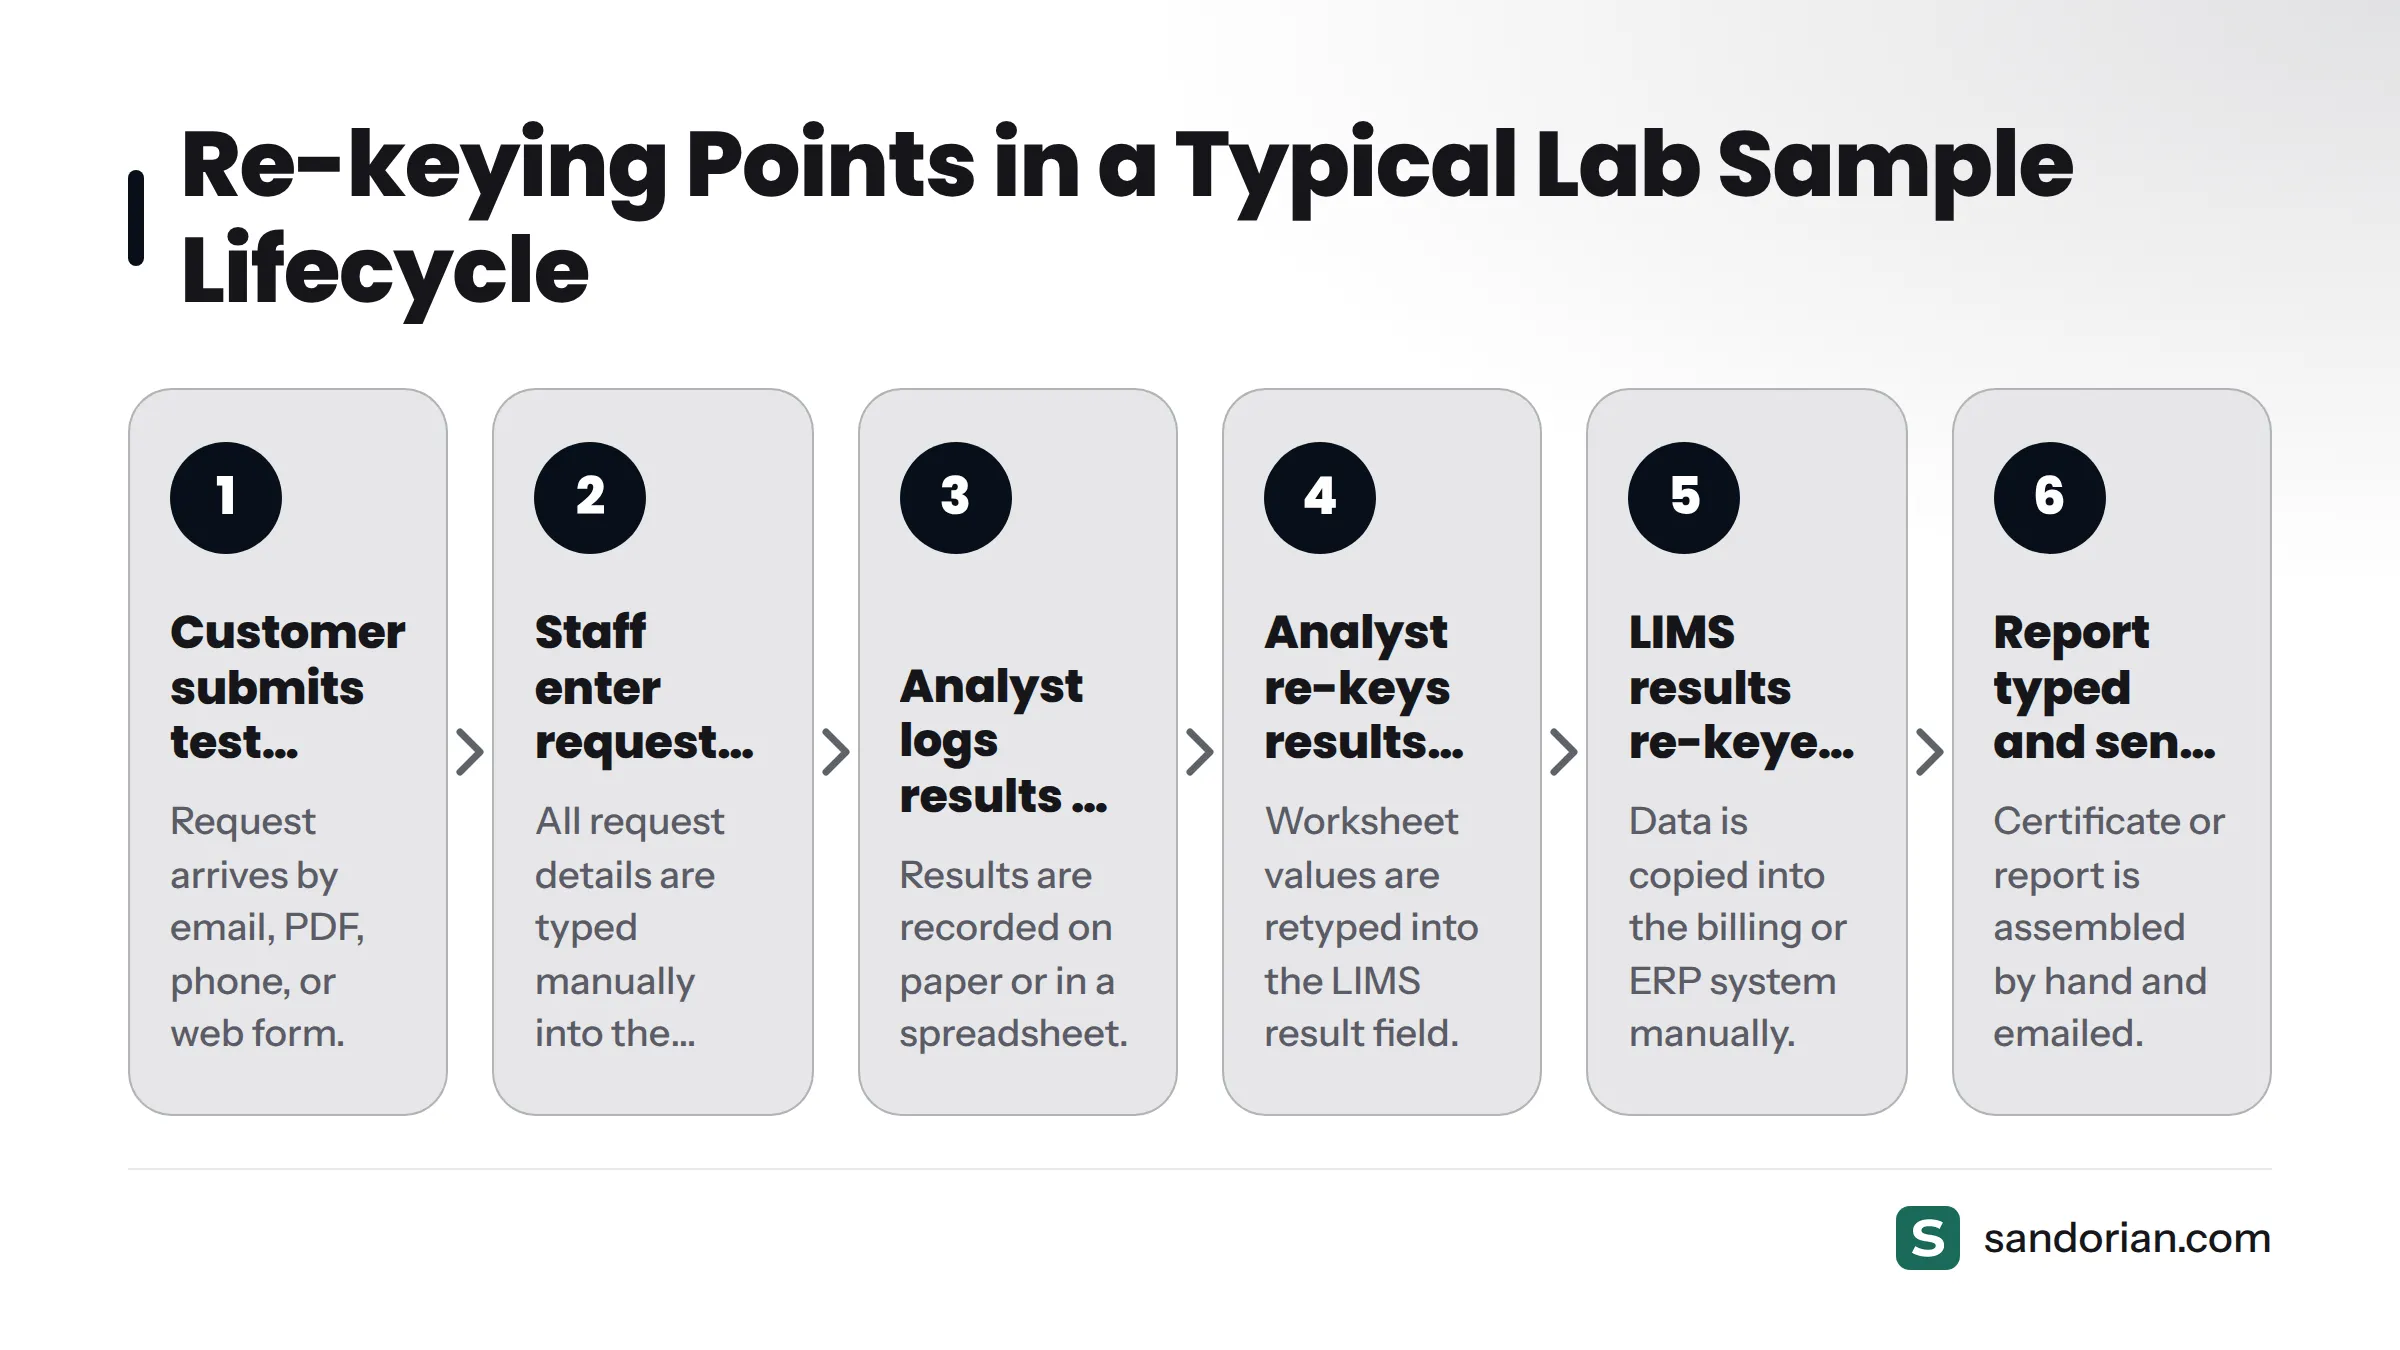
In every lab engagement, the Sandorian team starts the same way: pick one real sample that went through the full workflow last week, then trace every system touch from the moment a customer submitted the request to the moment a signed report left the lab. This approach surfaces re-keying points that no one has formally listed before, because each team member only sees their own segment of the journey.
Walk through each hand-off in order:
- Customer submits a test request (email, PDF, phone, or web form)
- Lab staff enter the request details into the LIMS manually
- Sample is registered; a sample ID or barcode is generated (or typed in)
- Analyst opens a paper or spreadsheet worksheet; results are logged
- Analyst re-keys results into the LIMS result field
- Instrument output is printed or exported; a person copies the value into LIMS
- LIMS results are re-keyed into the ERP or billing system
- A certificate or report is typed up and emailed to the customer
Each numbered hand-off where a person types data that already exists somewhere is a re-keying point. Sketch these on a whiteboard or in a simple flow diagram - a box for each system, an arrow for each data transfer, and a circle around each arrow that is currently manual. That circled map becomes your working document for every step that follows.
For the technical steps involved in pulling instrument output directly into the LIMS, see the dedicated guide on automating instrument data capture. If your lab uses barcode-based sample tracking, Sample barcode labeling: lab system setup guide covers the system setup in full.
Step 2 - Prioritise re-keying points by error risk and volume
Not all re-keying points carry the same consequence. A wrong invoice amount is inconvenient. A wrong result value on a certificate is a regulatory event. Rank each point on two axes: error risk (the consequence if this transfer produces a mistake) and volume (how many times per day or week the transfer happens).
| Re-keying point | Error risk | Daily volume | Priority |
|---|---|---|---|
| Customer request to LIMS registration | High (wrong sample ID propagates everywhere) | High | 1 - fix first |
| Instrument output to LIMS result field | High (wrong numeric value on report) | High | 1 - fix first |
| LIMS to ERP / billing | Medium (invoice error, revenue impact) | Medium | 2 - fix second |
| LIMS to report / certificate delivery | Medium (wrong certificate to wrong client) | Low | 3 - fix third |
| Internal analyst worksheet to result log | Low (caught by review step) | Medium | 4 - accept or automate last |
High risk and high volume always comes first. High risk and low volume is second, because even rare errors at a high-consequence point carry disproportionate compliance weight under ISO 17025:2017. Low risk and low volume can wait - or stay manual if the cost of integration outweighs the benefit.
Step 3 - Connect request intake directly to your LIMS
The intake gap is one of the most common re-keying points and one of the cheapest to close. When customers submit test requests by email, PDF, or phone, a staff member reads those details and types them into the LIMS - a full re-key of every field: client name, sample type, tests requested, collection date, and sample ID if the client supplies one.
The fix is an online test request form that writes directly to the LIMS through an API or webhook. When a customer completes and submits the form, the data travels directly into LIMS registration with no one retyping anything. A sample ID is generated at submission, a barcode label can be queued automatically, and the registration workflow begins without human intervention.
Full design and build guidance for that form lives on the page about the online test request form for labs. Before the intake connection goes live, confirm:
- Every mandatory LIMS field has a corresponding required form field
- Field formats match (date format, units, ID character limits)
- Duplicate sample detection is in place
- The LIMS generates and returns a sample ID or reference number to the submitter automatically
Step 4 - Close the gap between your LIMS and downstream systems
Fixing the intake gap is satisfying, but the downstream side of the LIMS is often just as leaky. After results land in the LIMS, someone may still re-key them into an ERP for invoicing, into a certificate template for report generation, or into a customer portal for result delivery. Each of those is a separate re-keying point - and a separate risk.
Two connection patterns cover most situations:
Direct API connection - both systems expose an API, and data flows between them without any intermediary. This works well when both the LIMS and the ERP or billing system are modern, cloud-based platforms with documented APIs. It is the fastest path and the easiest to maintain.
Middleware / integration layer - when one or both systems cannot expose a direct API (legacy instruments, closed LIMS architecture, on-premises ERP), a middleware layer sits between them, translating and routing data. More complex to build, but it handles legacy environments that a direct API cannot reach.
The Lab middleware: bridging the gap between instruments and LIMS guide covers these integration patterns in detail, including when to choose one over the other. For instrument-specific integration architecture, Connecting lab instruments to your LIMS: integration patterns goes deeper on the instrument side.
At every downstream boundary, apply basic data validation rules: field type checks, mandatory-field enforcement, and rejection rules that alert staff when a transfer fails rather than silently dropping data.
Step 5 - Validate each integration before removing the manual step
This is the step labs most often skip, and skipping it is the most common integration mistake we see.
The principle is straightforward: never retire a manual workaround until the automated path has been proven accurate under real conditions. The parallel-run period is not overhead - it is evidence.
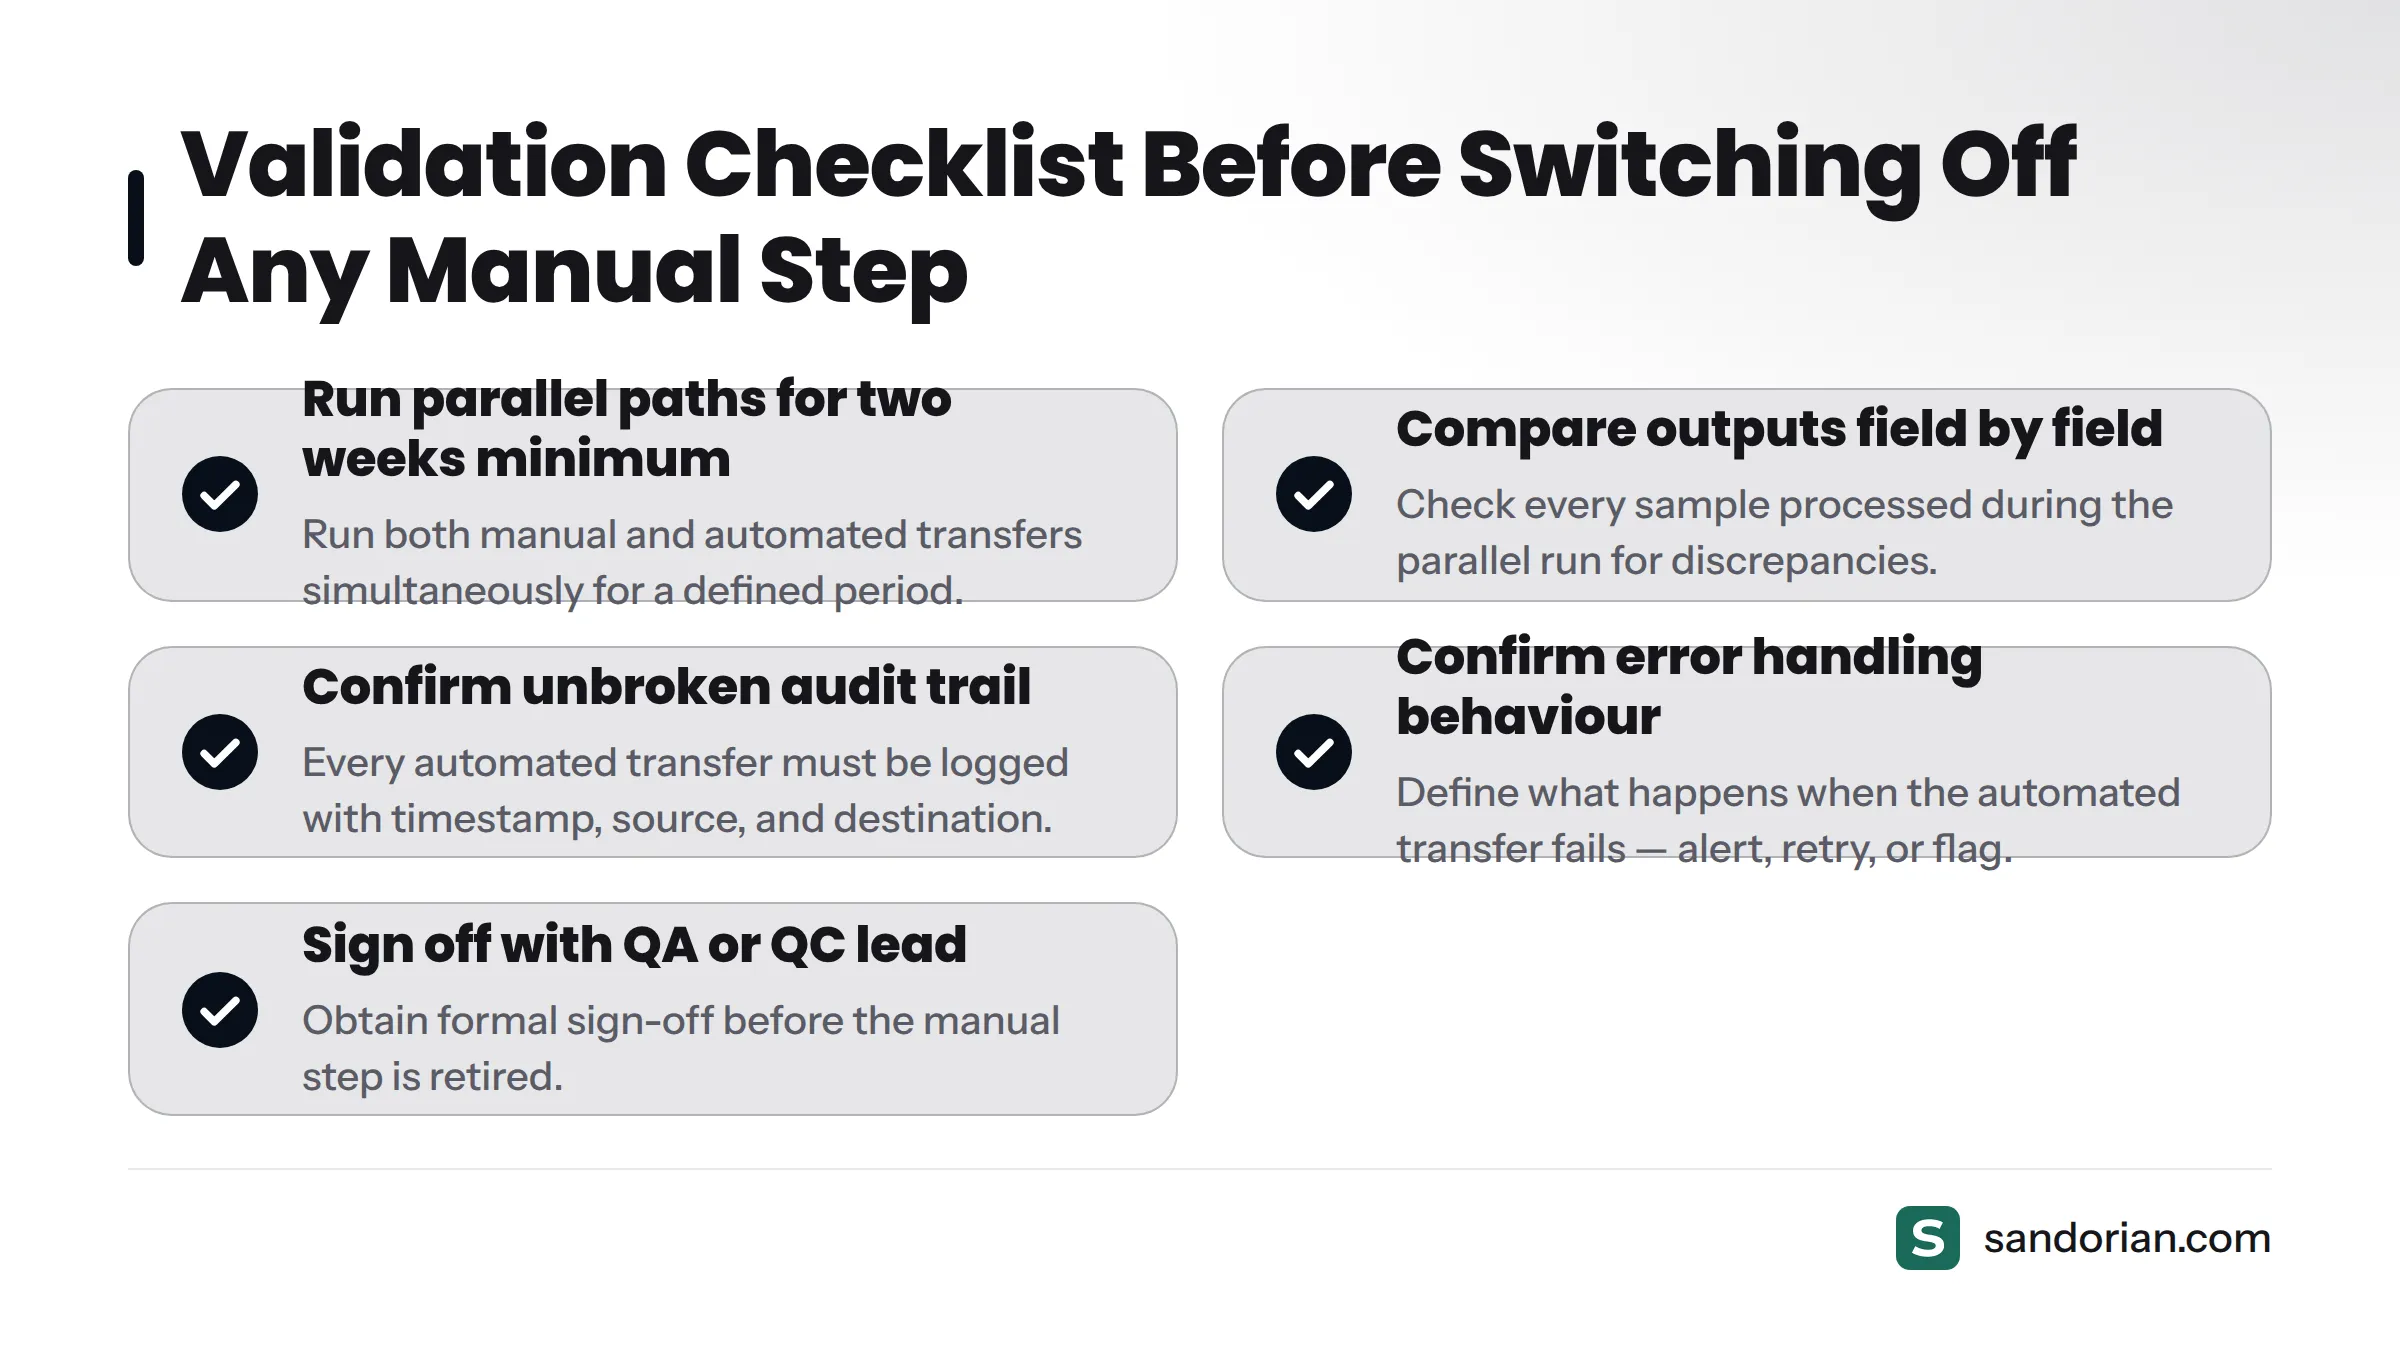
Validation checklist before switching off any manual step:
- Run both paths in parallel (manual and automated) for a defined period - two weeks is a sensible minimum for a high-volume transfer point
- Compare outputs field by field for every sample processed during the parallel run
- Confirm the audit trail is unbroken end-to-end: every automated transfer must be logged with timestamp, source, and destination
- Confirm error handling: define what happens when the automated transfer fails - does it alert staff, queue for retry, or silently fail?
- Sign off with the QA or QC lead before switching off the manual step
Under ALCOA+ principles - Attributable, Legible, Contemporaneous, Original, Accurate, plus Complete, Consistent, Enduring, and Available - the automated path must meet the same traceability standard as the manual process it replaces. If the integration cannot demonstrate that the right data moved from the right source at the right time, it is not ready.
For a catalogue of what goes wrong when this validation is skipped, Why lab integrations fail: causes and warning signs documents the most common failure patterns.
Step 6 - Measure the reduction and set a baseline for continuous improvement
Before you close any re-keying point, record the current error rate for that transfer. This is your baseline. Without it, you cannot prove improvement - to your own management, to an auditor, or to a customer questioning a past result.
Measure these metrics at each re-keying point before and after integration:
- Transcription error rate: errors detected per 100 transfers (count from correction workflows, audit findings, or customer complaints)
- Re-keying time per sample: average minutes of staff time spent on this transfer per sample
- Correction workflows triggered per week: how many records needed manual correction after the original entry
- Audit findings related to data entry: any nonconformances or observations from internal or external audits attributable to this transfer point
After integration goes live, measure the same metrics at the same interval. For the first three months, run a monthly review. After that, quarterly is enough for a stable integration. A sudden uptick in correction workflows is an early signal that something in the integration has drifted - catch it before an auditor does.
The State of lab digitization 2026 report from Sandorian documents how labs at different digitization stages track these metrics, and the lab workflow automation guide covers the broader continuous improvement cycle once the major re-keying points are closed.
How ViroVet cut manual errors by 80%
ViroVet, a veterinary diagnostic laboratory, came to Sandorian with a problem that will sound familiar: their sample lifecycle touched five systems, and almost every hand-off between them was manual. The intake form was a PDF emailed to the lab. Results came off instruments as printed outputs that analysts transcribed. Invoices were typed from the LIMS into the billing system. Certificates were assembled by hand.
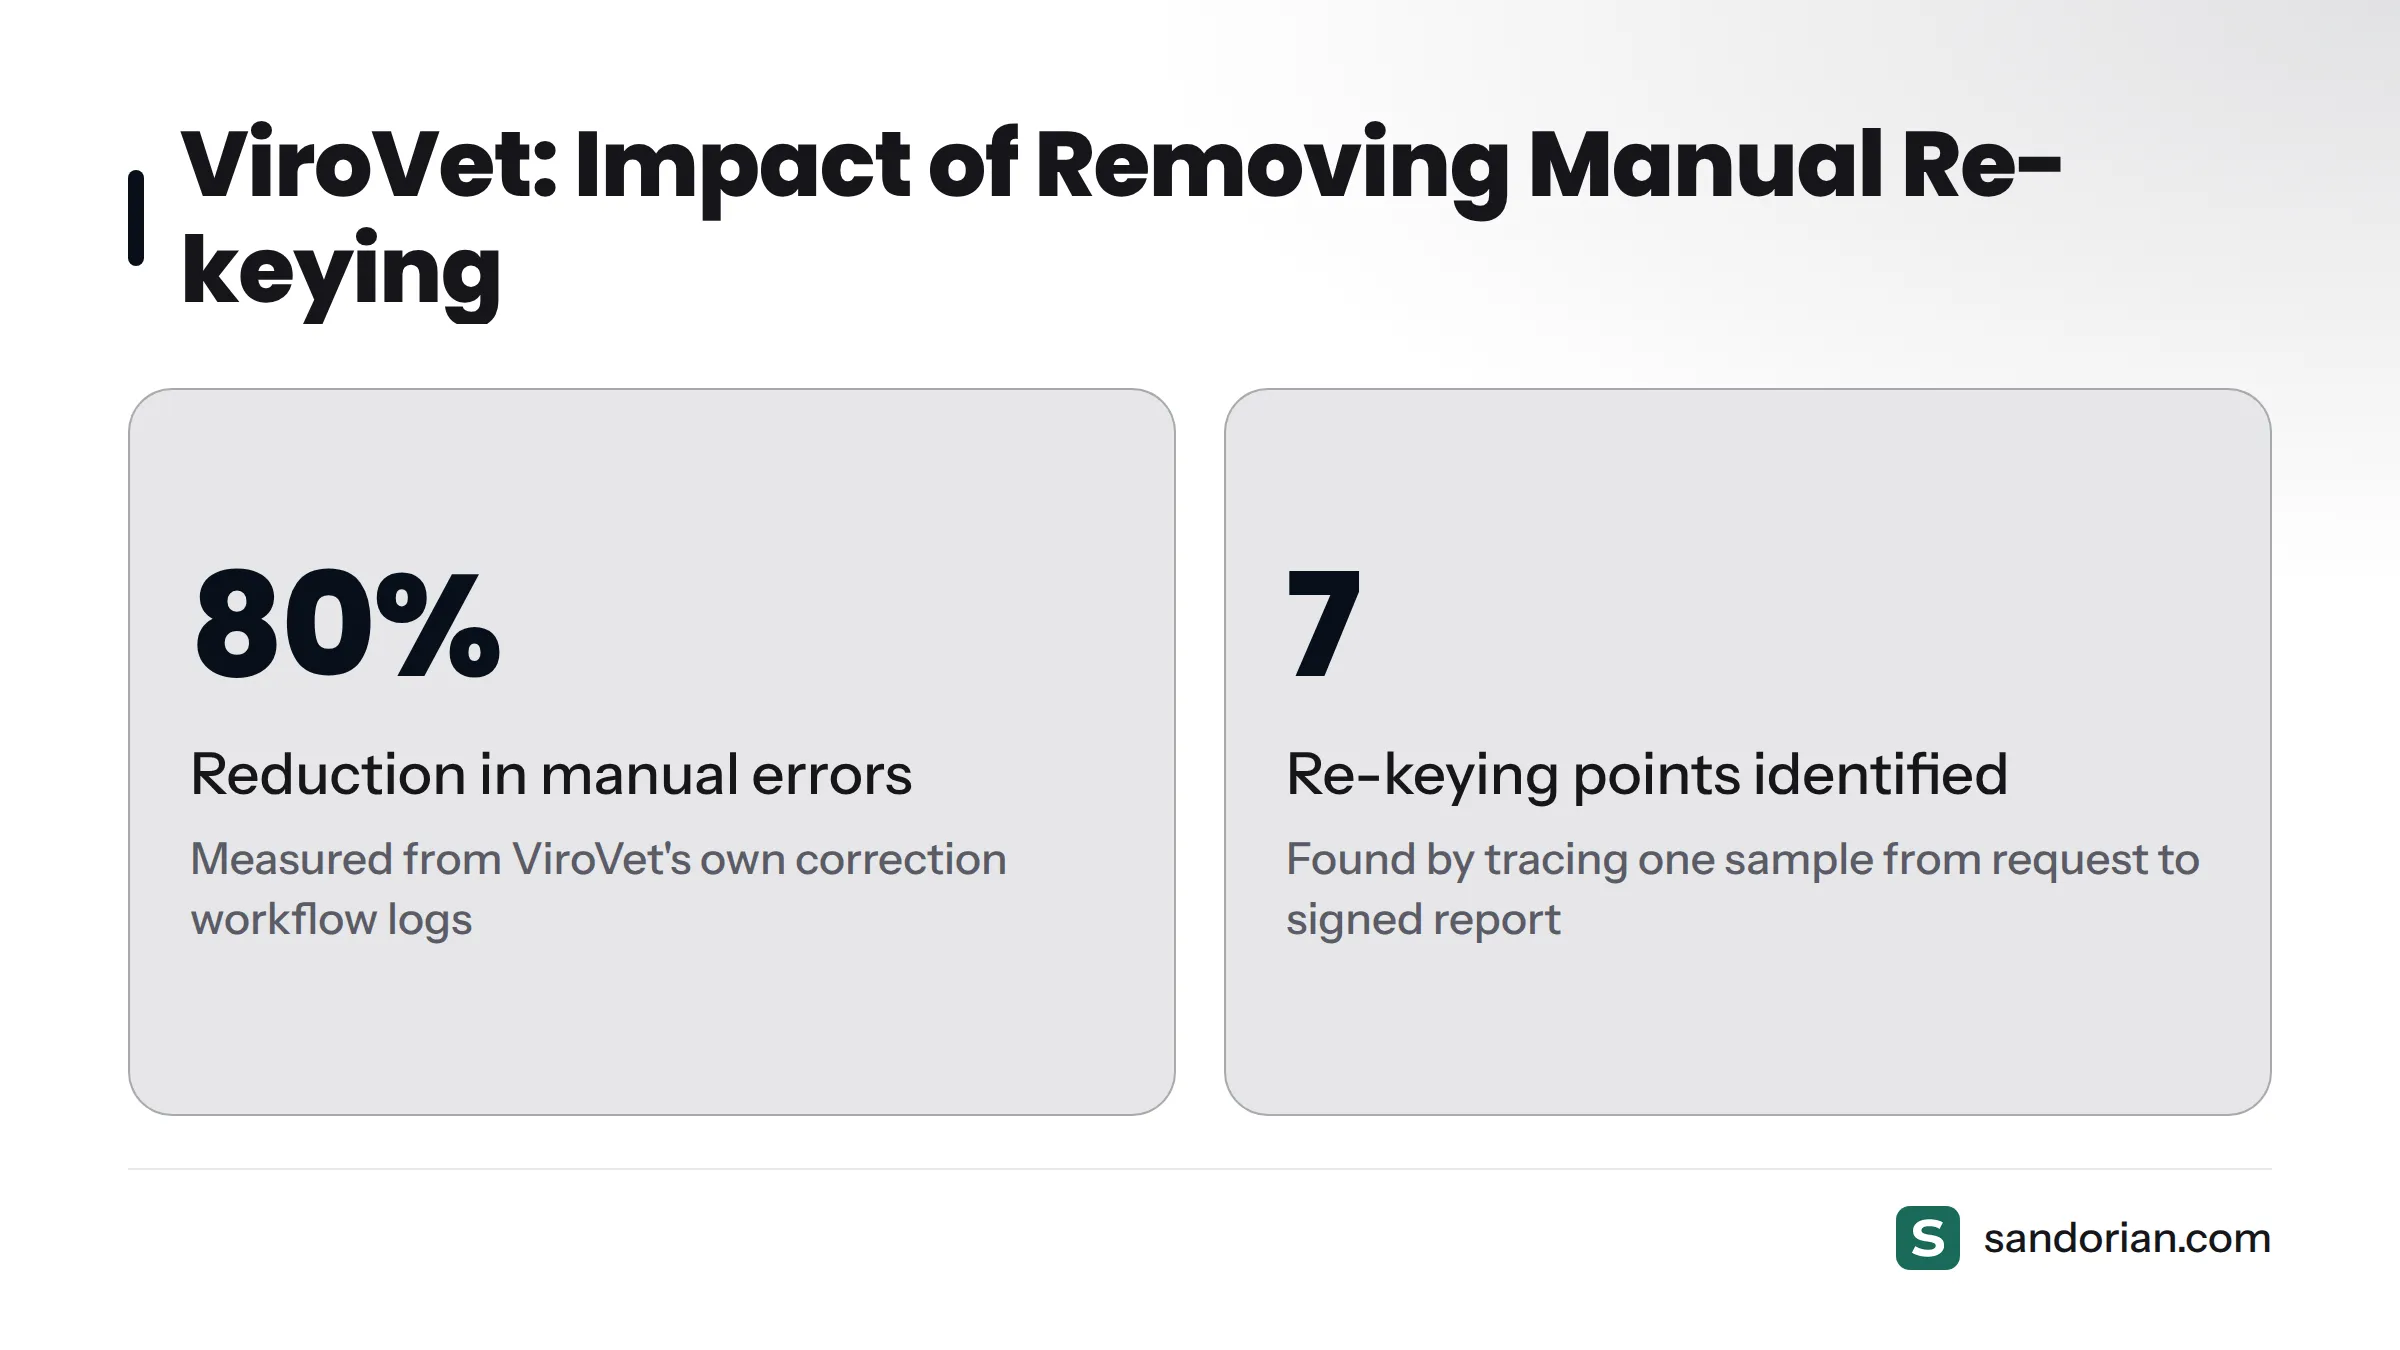
The Sandorian team followed one sample from the customer's initial request to the final signed report. That walkthrough identified seven discrete re-keying points. Ranked by risk and volume, the first integrations built were the intake-to-LIMS connection and the instrument-to-LIMS result feed - both high-risk, high-volume. After a parallel-run validation period, those two alone accounted for the majority of the error reduction.
The outcome: an 80% reduction in manual errors across the sample lifecycle.
The measurement came from ViroVet's own correction workflow logs - the same metric tracked before integration, used as the baseline, then tracked again post-integration at monthly intervals for the first quarter.
Read how ViroVet cut manual errors by 80% for the full case study, including the specific integrations built and the validation approach used.
Not sure where your biggest re-keying hotspot is? The Sandorian team offers a re-keying audit call: we follow one sample through your workflow and return a prioritised gap list with recommended next steps. Book a call or explore our custom software for laboratories to get started.
Frequently asked questions
What is the difference between manual data entry and re-keying in a lab?
Manual data entry covers any situation where a person types data into a system. Re-keying is the specific subset where that data already exists somewhere else - meaning the work is entirely redundant and every keystroke is a chance for a transcription error. All re-keying is manual data entry, but not all manual data entry is re-keying.
How do I find every re-keying point in my lab?
Pick one real sample that completed the full workflow recently and trace it through every system touch, from the customer's initial request to the signed report. At every hand-off, ask: did a person type something that already existed in the previous step? Each "yes" is a re-keying point. Document them on a simple flow diagram with each manual transfer circled.
How long does it take to integrate a LIMS with an online request form?
A straightforward API-based intake connection - where both the form platform and the LIMS expose a documented API - typically takes two to six weeks, including field mapping, testing, and the parallel-run validation period. More complex scenarios involving custom LIMS configurations or middleware requirements take longer. The parallel run itself should run for at least two weeks before the manual step is retired.
What is a re-keying point in a sample lifecycle?
A re-keying point is a moment in the sample workflow where a person manually copies data from one system into another. Common examples include entering a customer's emailed test request into the LIMS, copying an instrument's printed result into a result field, and re-keying LIMS data into an ERP for invoicing.
How do I measure the success of reducing manual data entry?
Set a baseline error rate for each re-keying point before integration - errors per 100 transfers, correction workflows triggered per week, or audit findings attributable to that transfer. After integration, measure the same metric at monthly intervals for the first three months, then quarterly. A meaningful reduction in those numbers, sustained over time, is the proof of success.
Does removing manual data entry affect my ISO 17025 audit trail?
It can - in both directions. If the automated path logs every transfer with a timestamp, source, and destination, the audit trail actually improves: it becomes continuous and machine-generated rather than dependent on staff diligence. If the integration is not configured to log transfers correctly, it can create gaps that an auditor will flag. This is why the parallel-run validation step includes an explicit check that the audit trail is unbroken end-to-end before the manual step is retired.
Sources
Let's talk
We build the systems that power your business. Let us know how we can help.
Book a 30-min Call